Introduction
Managing your menu efficiently across different locations or adapting quickly to inventory changes is crucial for any business. This article will guide you through the process of deactivating individual modifiers within a modifier group for specific items, allowing you to customize your offerings with unprecedented flexibility at each location. Say goodbye to duplicate items and hello to streamlined menu management!
Use Case Example
Managing Sauce Availability for a Multi-Location Pizza Chain
Imagine “Pizza Palace,” a popular pizza chain with multiple locations, each operating with slight variations in its menu, particularly regarding sauces.
Currently, Pizza Palace offers a “Build Your Own Pizza” item. Customers can select from a “Sauce Choices” modifier group. However:
Location A carries 5 standard sauces.
Location B carries the same 5 standard sauces, plus 4 additional specialty sauces unique to that branch.
Location C has 5 standard sauces, but one of the standard sauces is temporarily out of stock.
The Solution: Deactivating Modifiers Per Item at Specific Locations
Pizza Palace could have just one “Build Your Own Pizza” item and one universal “Sauce Choices” modifier group containing all possible sauces (e.g., all 9 sauces).
Then, for each location, they could simply deactivate specific sauces (modifiers) within the “Sauce Choices” group for that particular “Build Your Own Pizza” item.
Location A: On the “Build Your Own Pizza” item, the 4 specialty sauces would be deactivated.
Location B: All 9 sauces would remain active for the “Build Your Own Pizza” item.
Location C: On the “Build Your Own Pizza” item, the temporarily out-of-stock sauce would be deactivated until stock is replenished.
How to deactivate a modifier per item / per location
Note: This change can be done only in Figure Manage.
[1] Go to Figure Manage > Items & Categories and find an item for which you’d like to deactivate an option.
[2] Click on the item to open the item detail
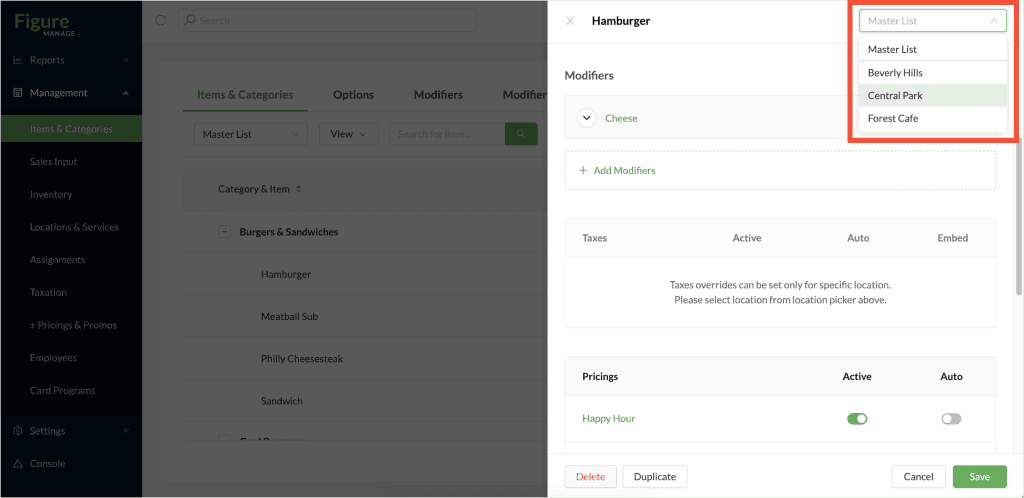
[3] Select a location in the top right corner. Even if there’s only one location available, change it from “Master List” to the specific location. (If you’re doing this on the POS, the change will apply only to that location.)
[4] Scroll down to the Modifiers section and activate / deactivate a modifier
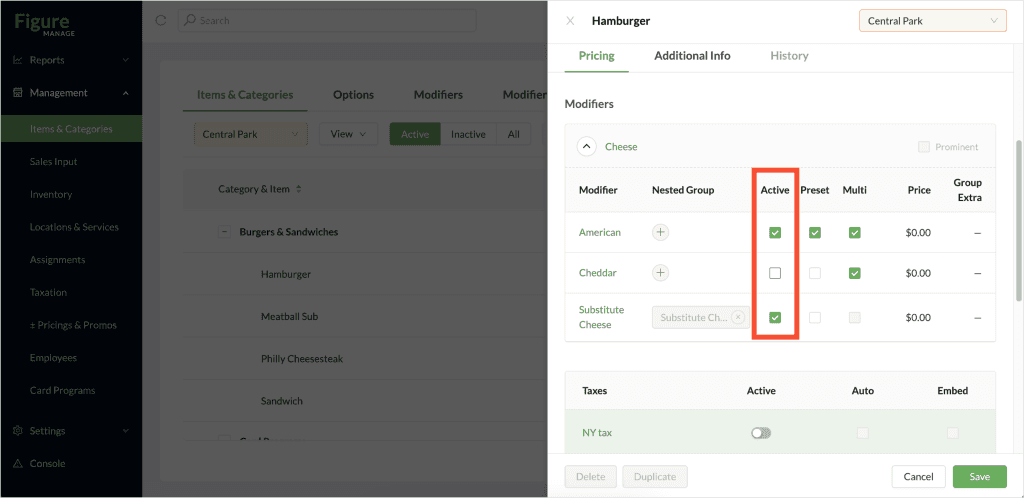
[5] Click Save
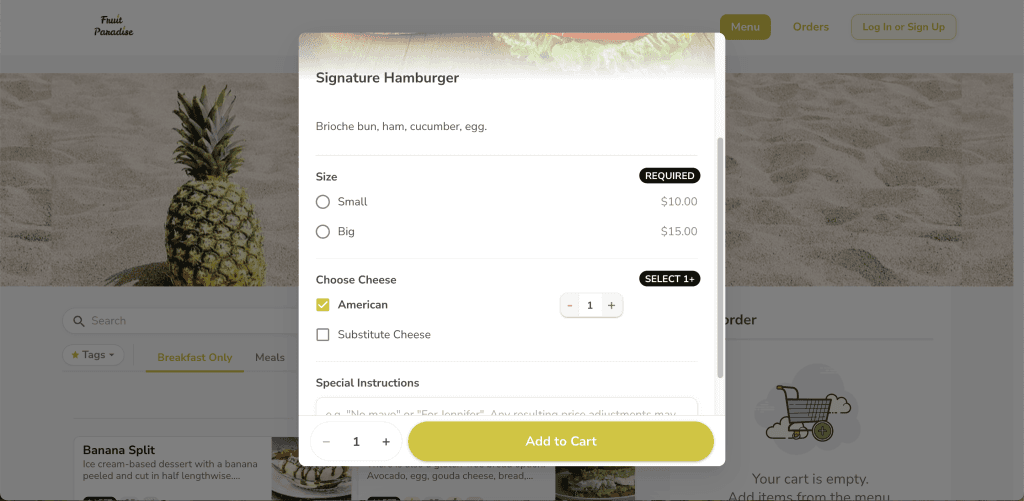
This will be the result: the deactivated modifier will no longer be available. (This example shows the Make It Butter website, but the same applies to both POS and Kiosk systems.)