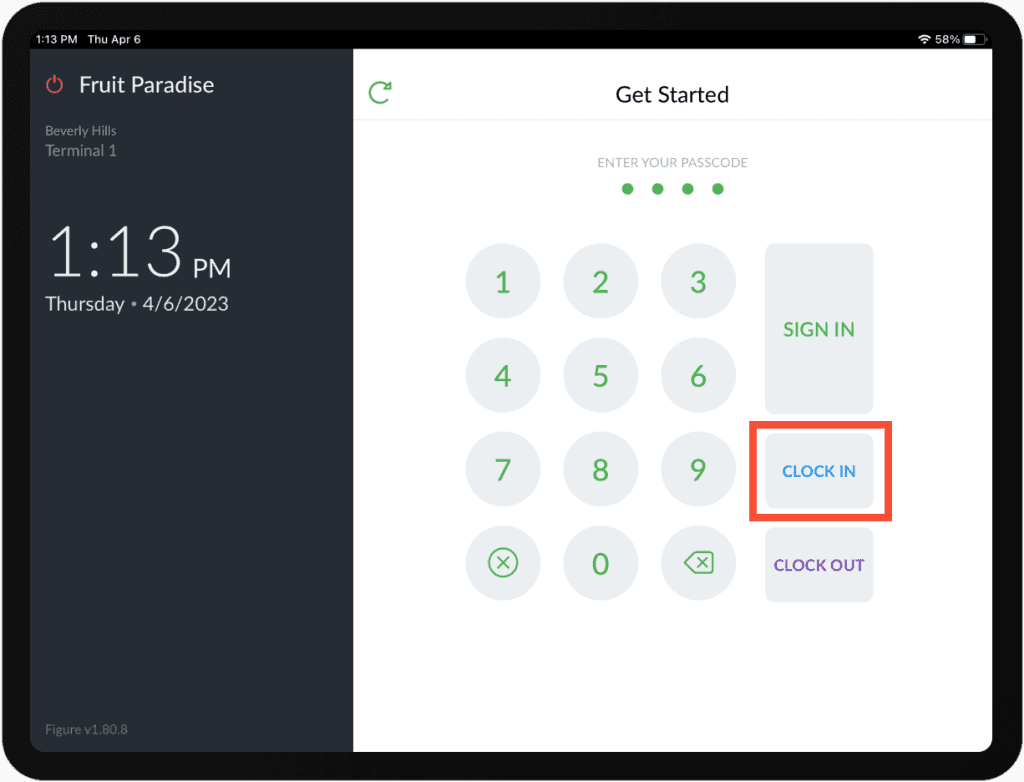
How to clock in
[1] Enter your PIN / PASSCODE
[2] Press CLOCK IN
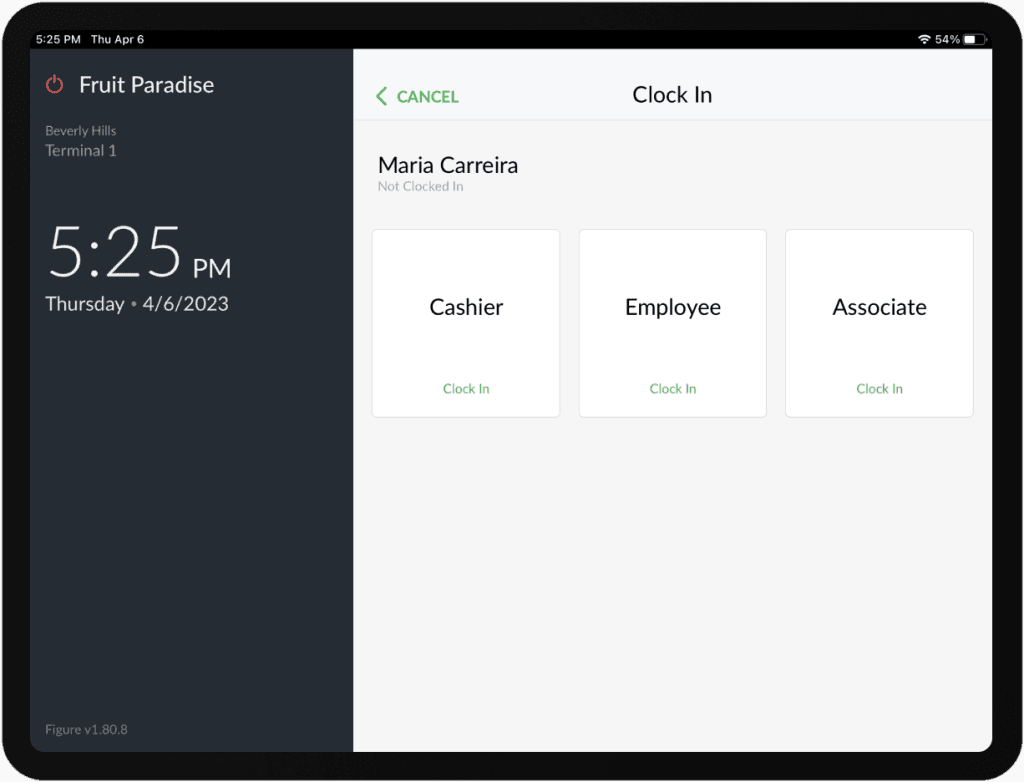
When multiple roles are assigned to you, choose as which role you are clocking in now
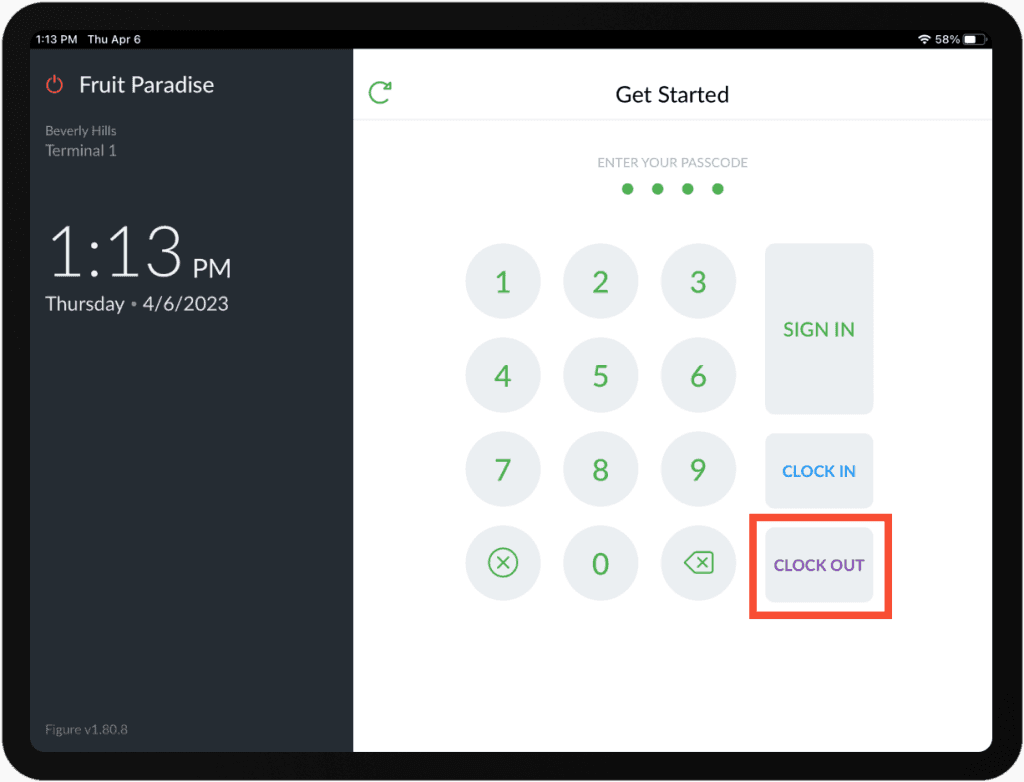
How to clock out
[1] Enter your PIN / PASSCODE
[2] Hit CLOCK OUT
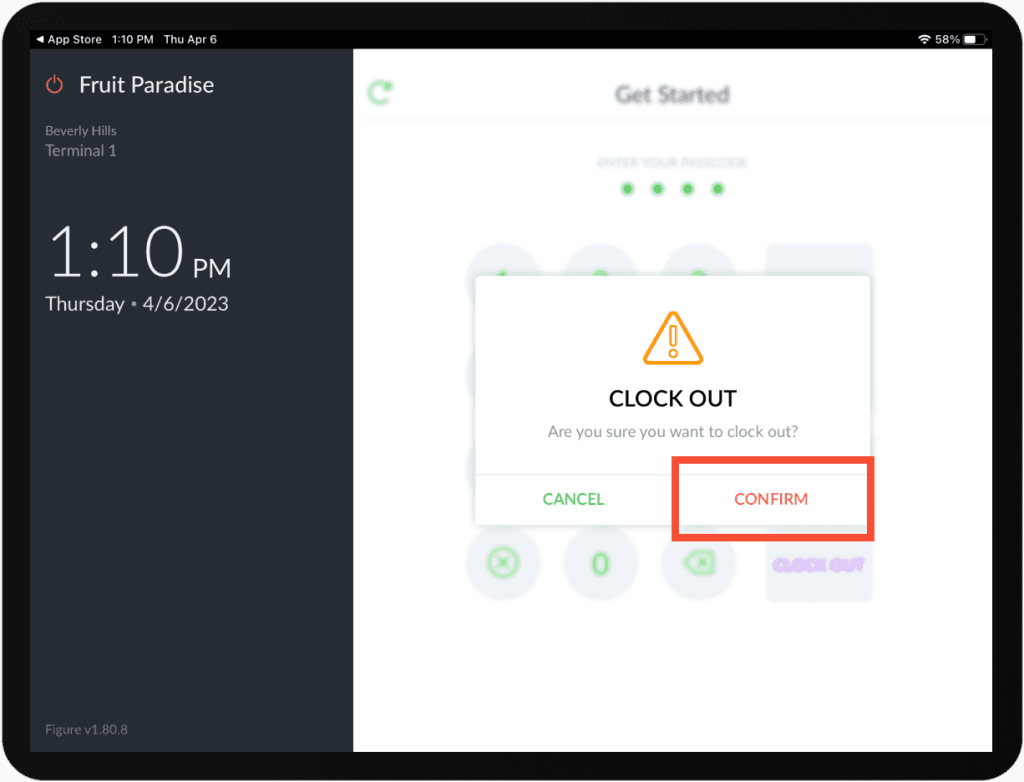
[3] When clocking out, a confirmation message will show up to prevent an accidental clock-out. Hit CONFIRM.
The clock-in might not be possible until the shift review is completed – see an article on Shift Review.
Breaks
How to enable breaks
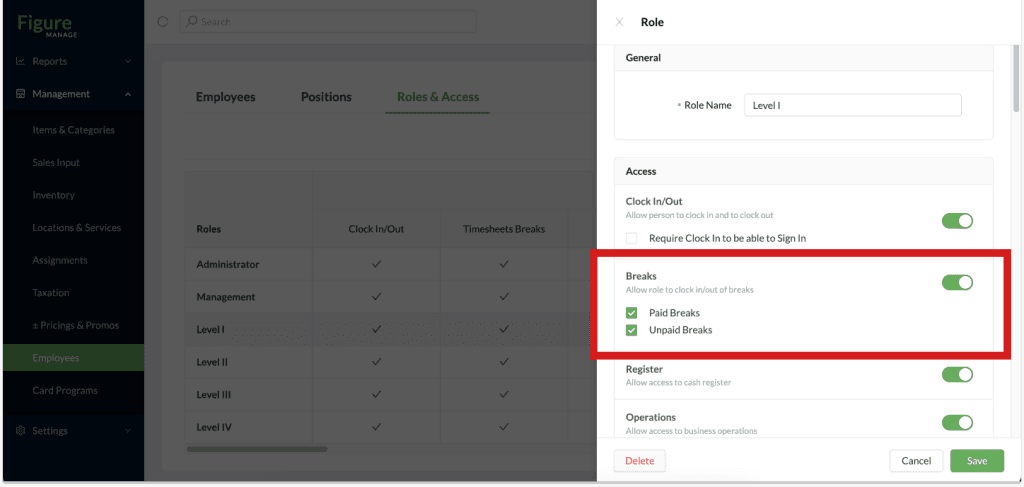
[1] To enable tracking of Breaks for en employee, go to Figure Manage > Management > Employees > Roles & Access.
[2] Select a role and open it's detail by clicking on it.
[3] Enable Breaks and choose Paid Breaks, Unpaid Breaks of both.
How to Start a Break
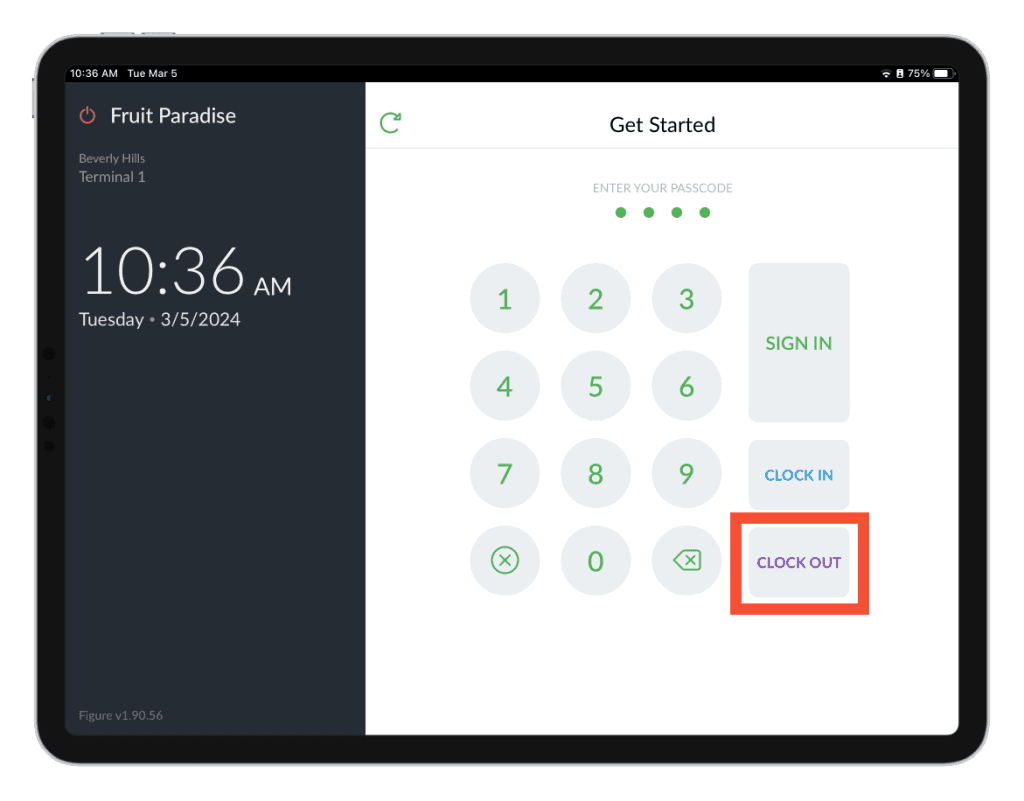
[1] Enter your passcode and press the Clock Out button.
[2] Choose an option (if they are both enabled) of Paid or Unpaid break.
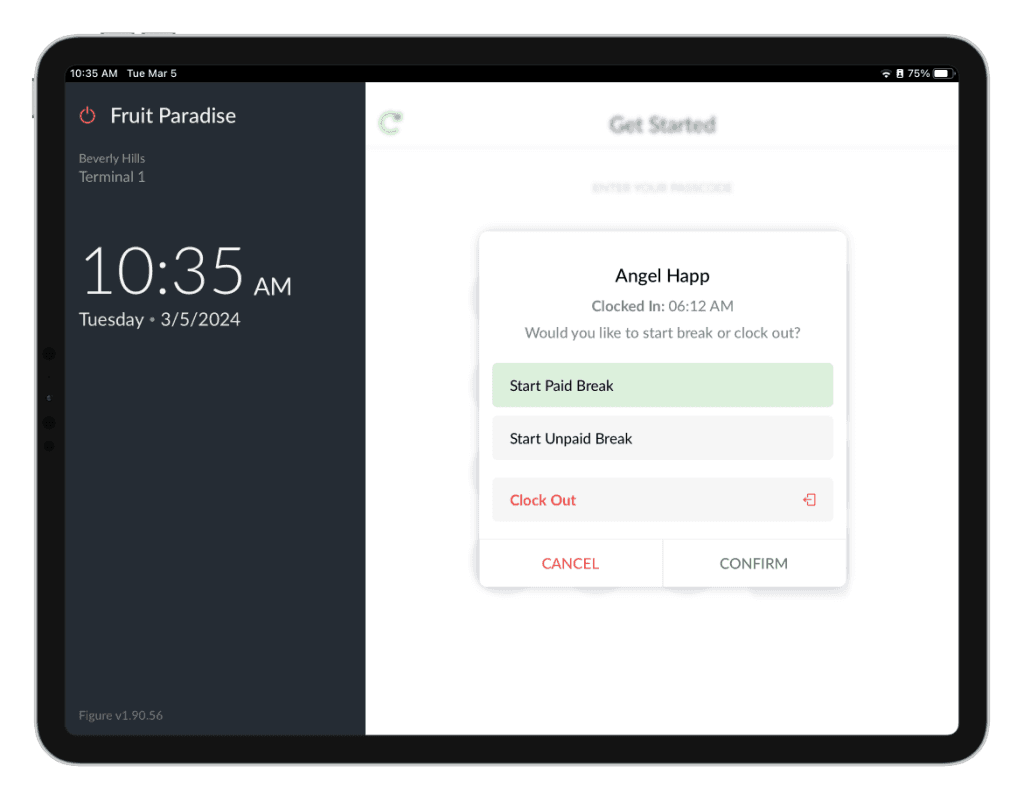
[3] Press CONFIRM
How to End a Break
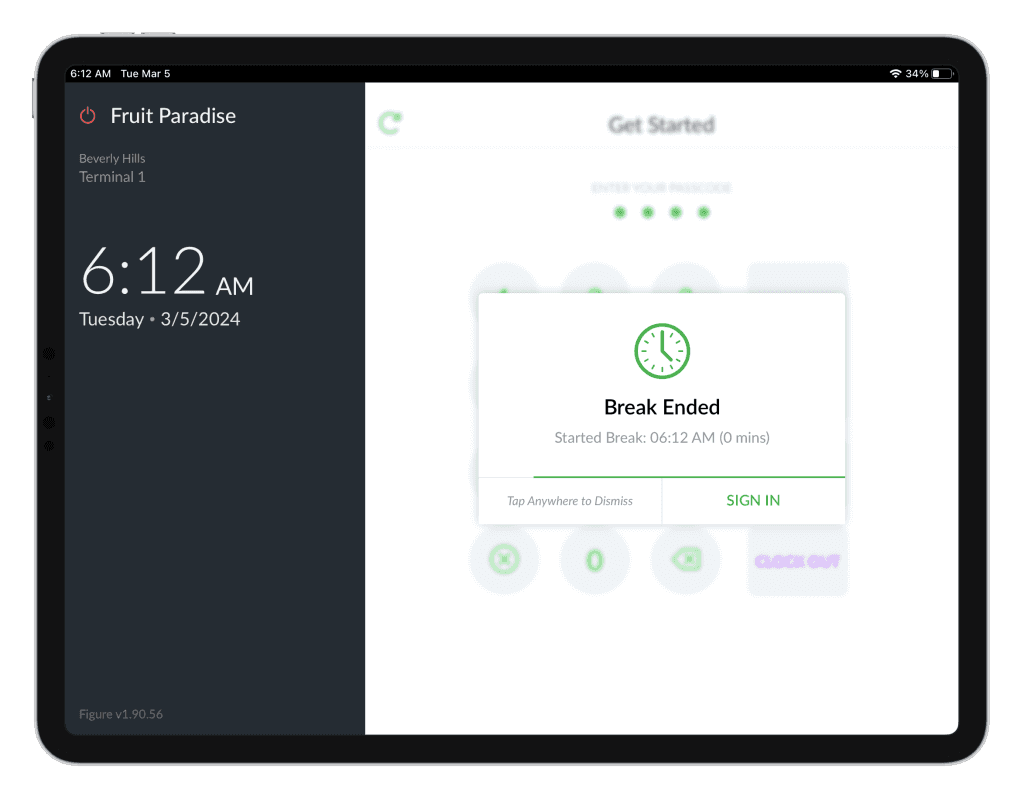
[1] Enter your passcode and press the Clock In button.

The break will be ended.
Timesheets & Logs
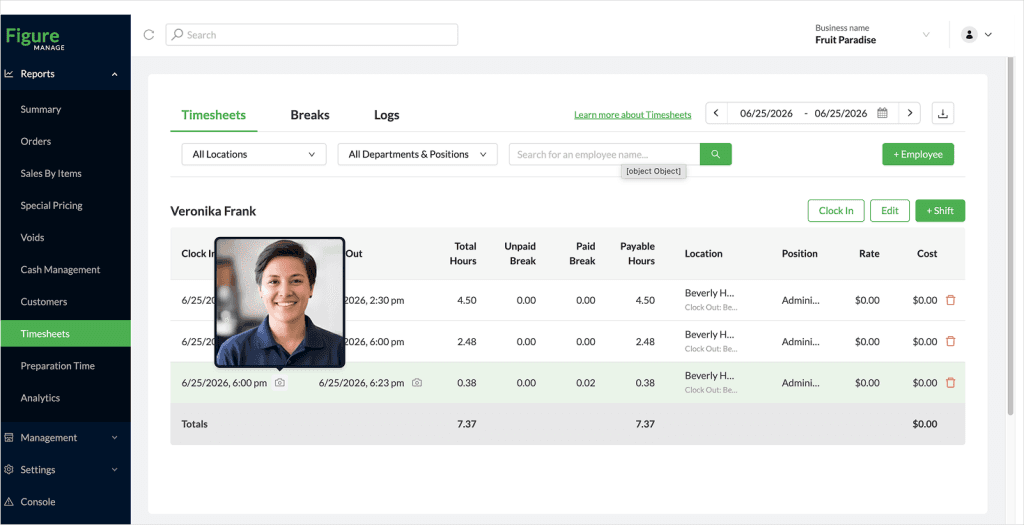
Clock Ins/Clock Outs and Breaks are being tracked and can be also created, edited and exported in Figure Manage in Reports > Timesheets. In the Timesheet log, you can see who performed changes on the clock in / out times.
Enable Camera on Sign In Screen
You can enable the camera on your Sign In Screen to capture images when employees clock in, clock out, start their break, end their break.
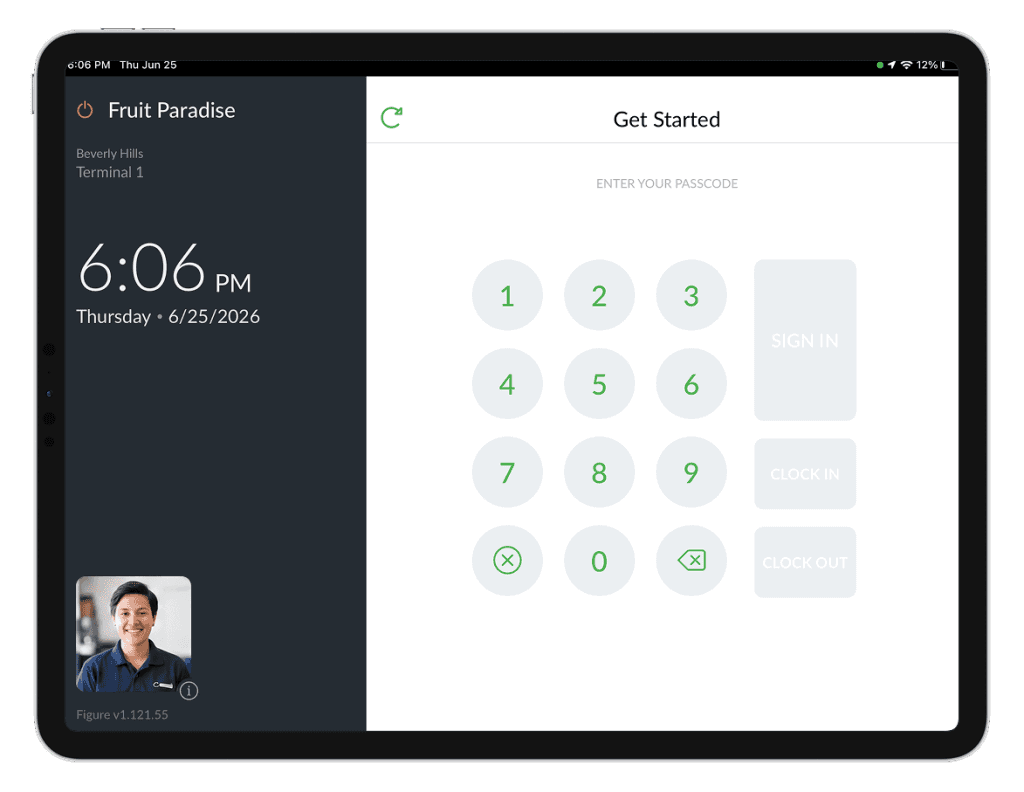
Note: This feature does not apply when using a Virtual Till with Shift Review.
How To Enable Camera on Sign In Screen
See this video tutorial or follow the steps below:
[1] Go to Figure Manage > Settings > General > Others
[2] Enable the "Camera on Sign In Screen" and save (Apply Settings)
You can also choose to save captured images by enabling "Save Camera Images (180 Days)".
View Saved Images
Saved images are available in Figure Manage > Reports > Timesheets, where they are linked to the corresponding shift record.