Assigning Printer is crucial to running a smooth business.
This article shows how to add Receipt Printer, Kitchen Printer, KDS and Tag Printer.
Printer Agenda & Settings
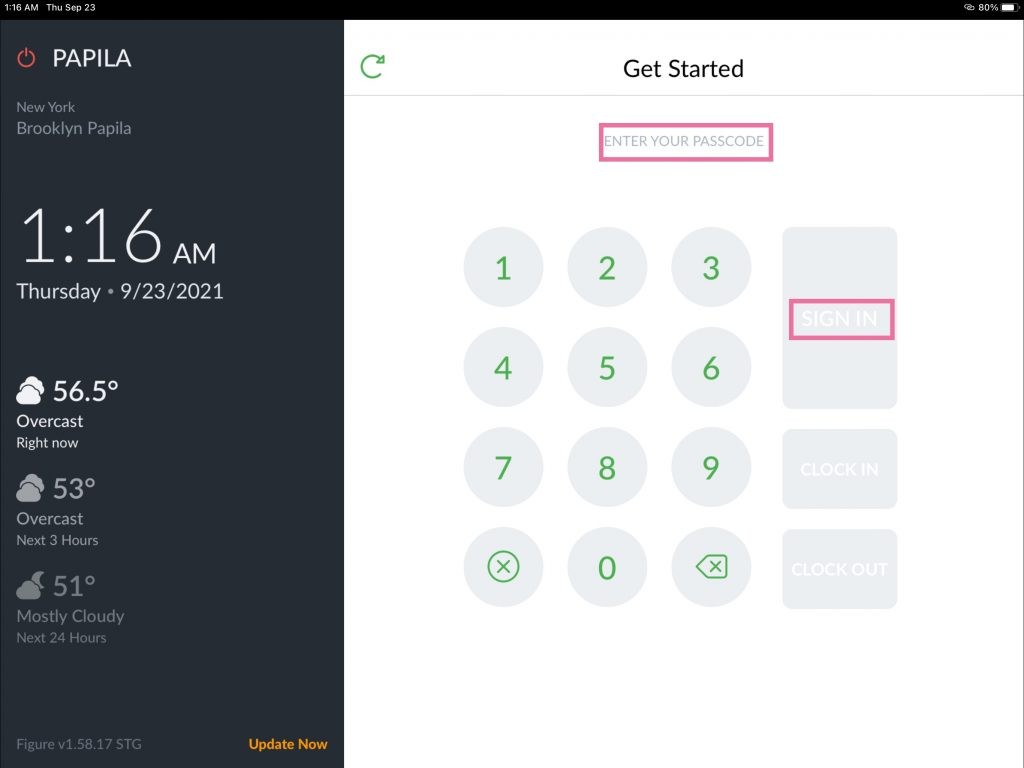
[1] Log into Figure POS with your credentials
[2] Insert your Manager PIN on the Get started Screen
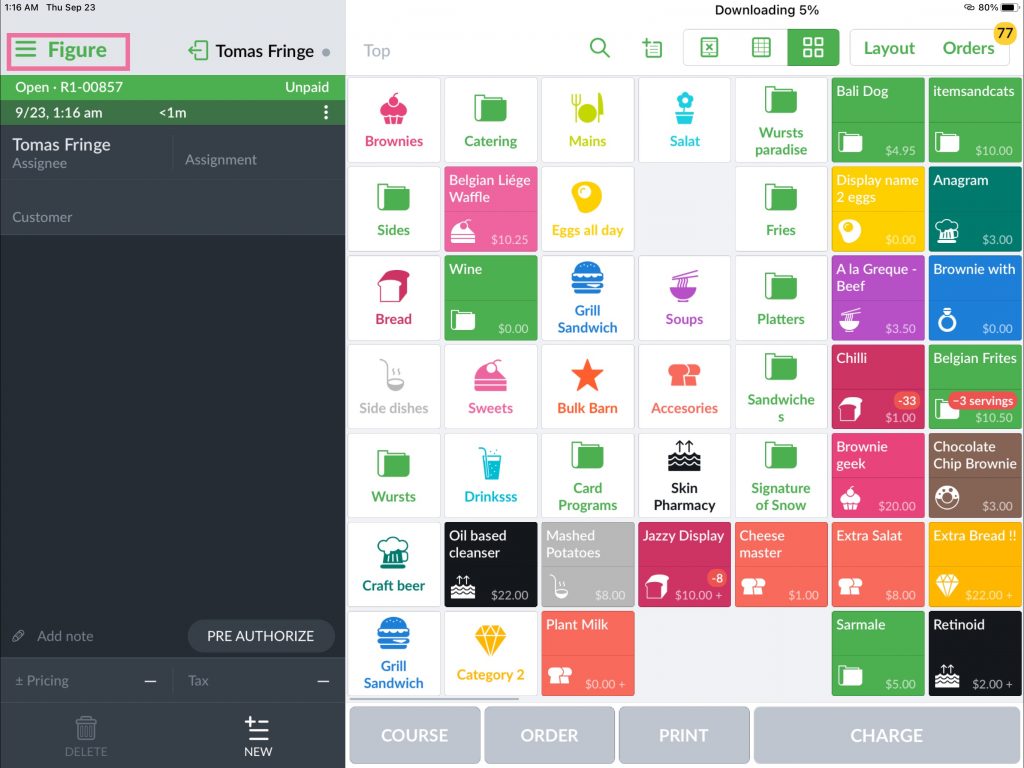
[3] Open Figure Settings
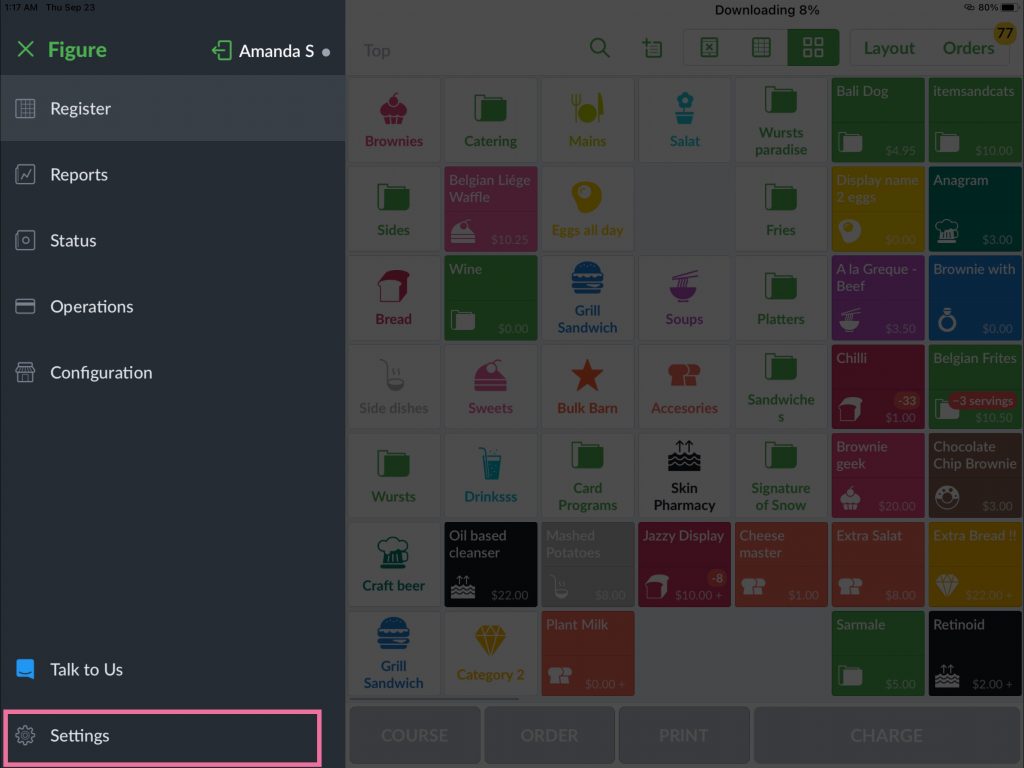
[4] Click on Settings -> Printers Agenda will show
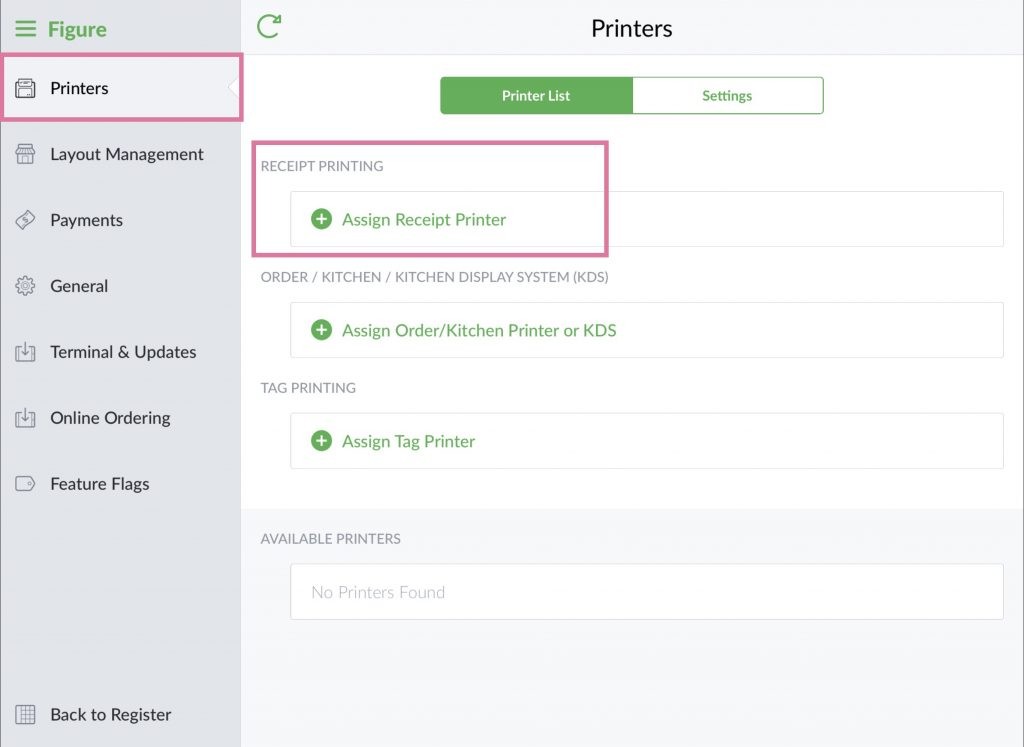
Your Printer List will be empty if this is your first time configuring Printers
Your Printer List will be filled with Printers if you configured Printers before
[5] Choose what printer you want to assign to this Register:
Receipt? Click on Assign Receipt Printer
Kitchen? Click on Assign Order/Kitchen or KDS
Tags? Click on Assign Tag Printer
Labels? Click on Assign Label Printer
You can always check your Available Printers at the bottom of the page
Assign Receipt Printer
[1] Click on Assign Receipt Printer
[2] Select Receipt Printer from the List
if no printers found, try to refresh
if no printers found after refresh, check your internet connection and printer’s connection as well
[3] Click on Done
Your Receipt Printer is set!
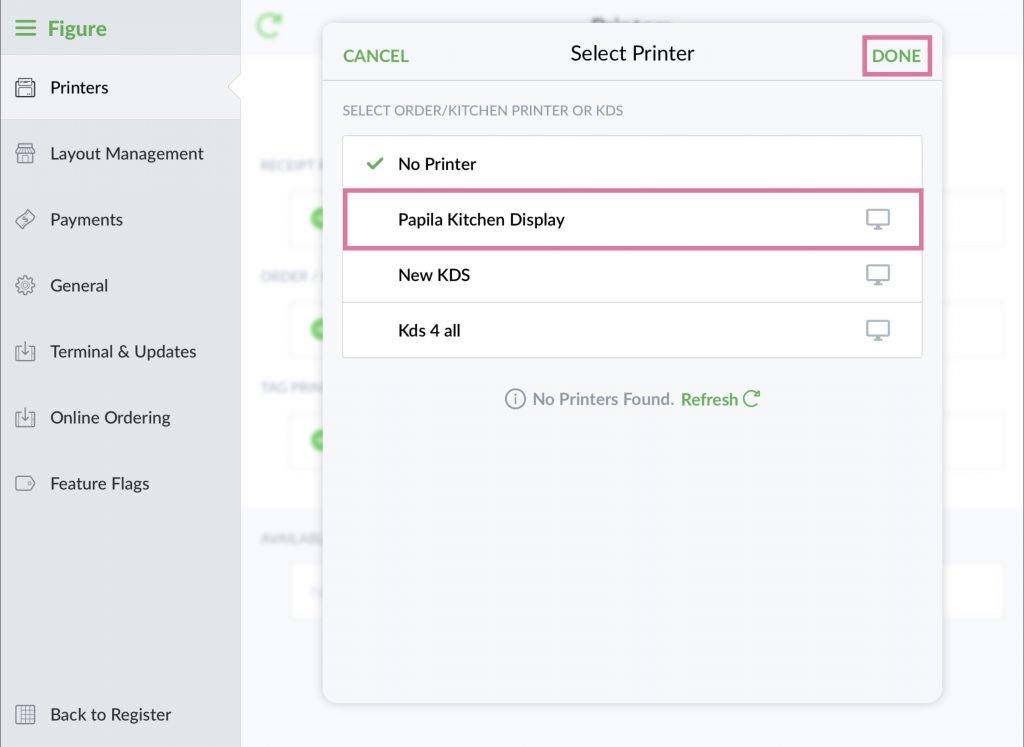
Assign Kitchen Printer or Kitchen Display System [KDS]:
[1] Click on Assign Order / Kitchen Printer or KDS
[2] Select one Kitchen Printer or KDS from the List
if no printers found, try to refresh
if you do not have a KDS set up yet, contact us at support@figure.dev
[3] Click on Done
To see how to configure items for printing, see this article: Configure Items for Printing
Assign Tag Printer:
[1] Click on Assign Tag Printer
[2] Select Tag Printer from the List
if no printers found, try to refresh
if no printers found after refresh, check your internet connection and printer’s connection as well
if you have Bluetooth Printer, check if your Bluetooth is enabled
[3] Click on Done
Your Tag Printer is set!